- Warren Butterworth
- Mar 23, 2023
- 3 min read

Updated: Jan 17, 2024


On a recent internal Penetration Test, I was faced with the above scenario and had to work a little harder for Domain Admin. So finding initial access. What do we need to do, as a rule, we will need one of 2 things:
Something vulnerable
Credentials

Putting Red team tactics to one side (so that means no phishing etc) one of the above is often our only route to gaining initial access. Basically, we need to steal, sniff, or crack some credentials or we find something vulnerable (a juicy CVE will do nicely) to enable us to get a beacon/session on our initial target.
Often the first thing that comes to mind is responder/mitm6 or some sort of MITM attack to steal creds and relay/crack them. This is often a great step and usually finds some weak passwords, but in this case, the client had been tested multiple times including by ourselves, and had worked hard to push a new password policy. Even with an AWS hashcat instance, these credentials were tough to crack.
Relaying and coercing for credentials also didn't produce any joy. So we are only left with finding something vulnerable.
Enter Vcenter. A version of Vcenter was found that was vulnerable to CVE-2021–22005 which exploits a file upload in VMware vCenter Server’s analytics/telemetry (CEIP) service to write a system crontab and execute shell commands as the root user. Great we can get a shell.


CVE-2021–22005 Root Shell
Gaining access to vCenter as root we can retrieve the data.mdb file which contains certificates that are stored in cleartext and can be used to sign any SAML authentication request for any user including the builtin Administrator. Gaining a root shell allows us to download this file.


Data.mdb file
With this file there is a tool created by horizon3ai found here that allows us to create a cookie for the vCenter ui.


Cookie Created
With this cookie injected into a browser session on the vCenter /ui url we are authenticated onto the vsphere gui administrator.
Once on Vsphere I looked at 2 different scenarios.
Dump vmdks and mount them locally, grab SYSTEM, SAM, SECURITY, and dump hashes
Open all VM's to see if any gave me some sort of access
I started with download dumps. This has to be done on VM backups or VMs that have been stopped. Fortunately, there were a few available but the download size was often quite large.


Downloading vmdks
The process involved downloading the vmdk file, using kpartx to create device maps from the VMDK partition tables, mount the partition, copy the SAM, SECURITY and SYSTEM files and then run secretsdump on them. This for me gave me access to some RID 500 accounts hashes and Domain Cached Credentials (DCC) (Pretty slow to crack these!) The RID 500s didnt have any access on the rest of the domain but it was a useful exercise. You can find a great writeup on this here.
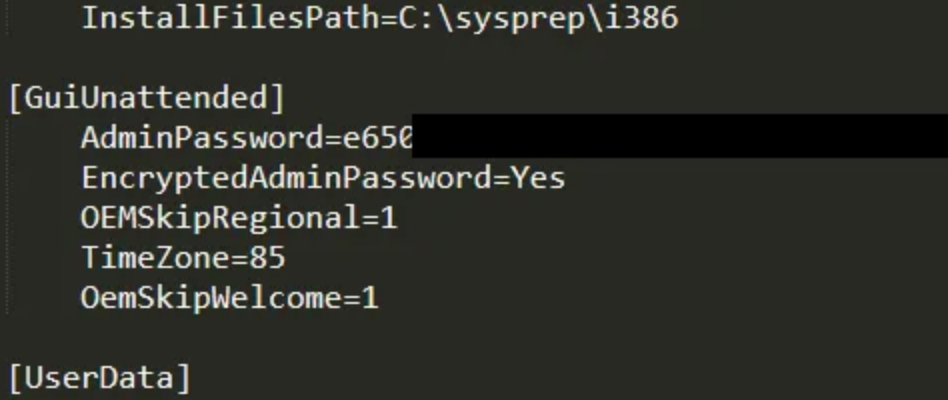
I opened every single VM to see if any didn’t need passwords to log in. To my surprise I found one VM that dumped me straight on the desktop with no password prompt. After an initial look around Sophos was found to be running so I wanted to get something running quickly. I set up Responder and ntlmrelay. Using the VM I navigated to my Kali VM, captured, and relayed the hash. This was a privileged account so successfully dumped creds from 2 x Management Servers. Quite a lot of hashes were in here including LSA secrets in cleartext for an account that was configured to start a service. This account was a domain admin.
Always wanting to go the extra mile and I love getting a CobaltStrike Beacon. I wmiexec’d to the Domain Controller. Again Sophos was running. Before dumping any file on disk I ran Hook Detector to see what Windows APIs were being hooked.


Windows APIS hooked
Seems there are a few Windows APIs hooked but a few that are not including NTQueueApcThread. Utilising a little C# I created a process inject executable that downloaded a bin file and injected a payload (my CS Beacon) into memory. After hosting the bin file, uploading, and running the exe I was presented with a High integrity beacon for CobaltStrike. From here a DCSYNC of the krbtgt NTLM/AES hash gave me domain dominance.
I hope you find this writeup helpful.
Feel free to connect with me on linkedin